If you missed part 4, please find it here.
Getting ready to start milling
Now we’re ready to start milling! We’ve generated the g-code we need for the Dominion turntable but before we start milling I’ll write a little about my setup and show you the process I use to get ready.
My setup
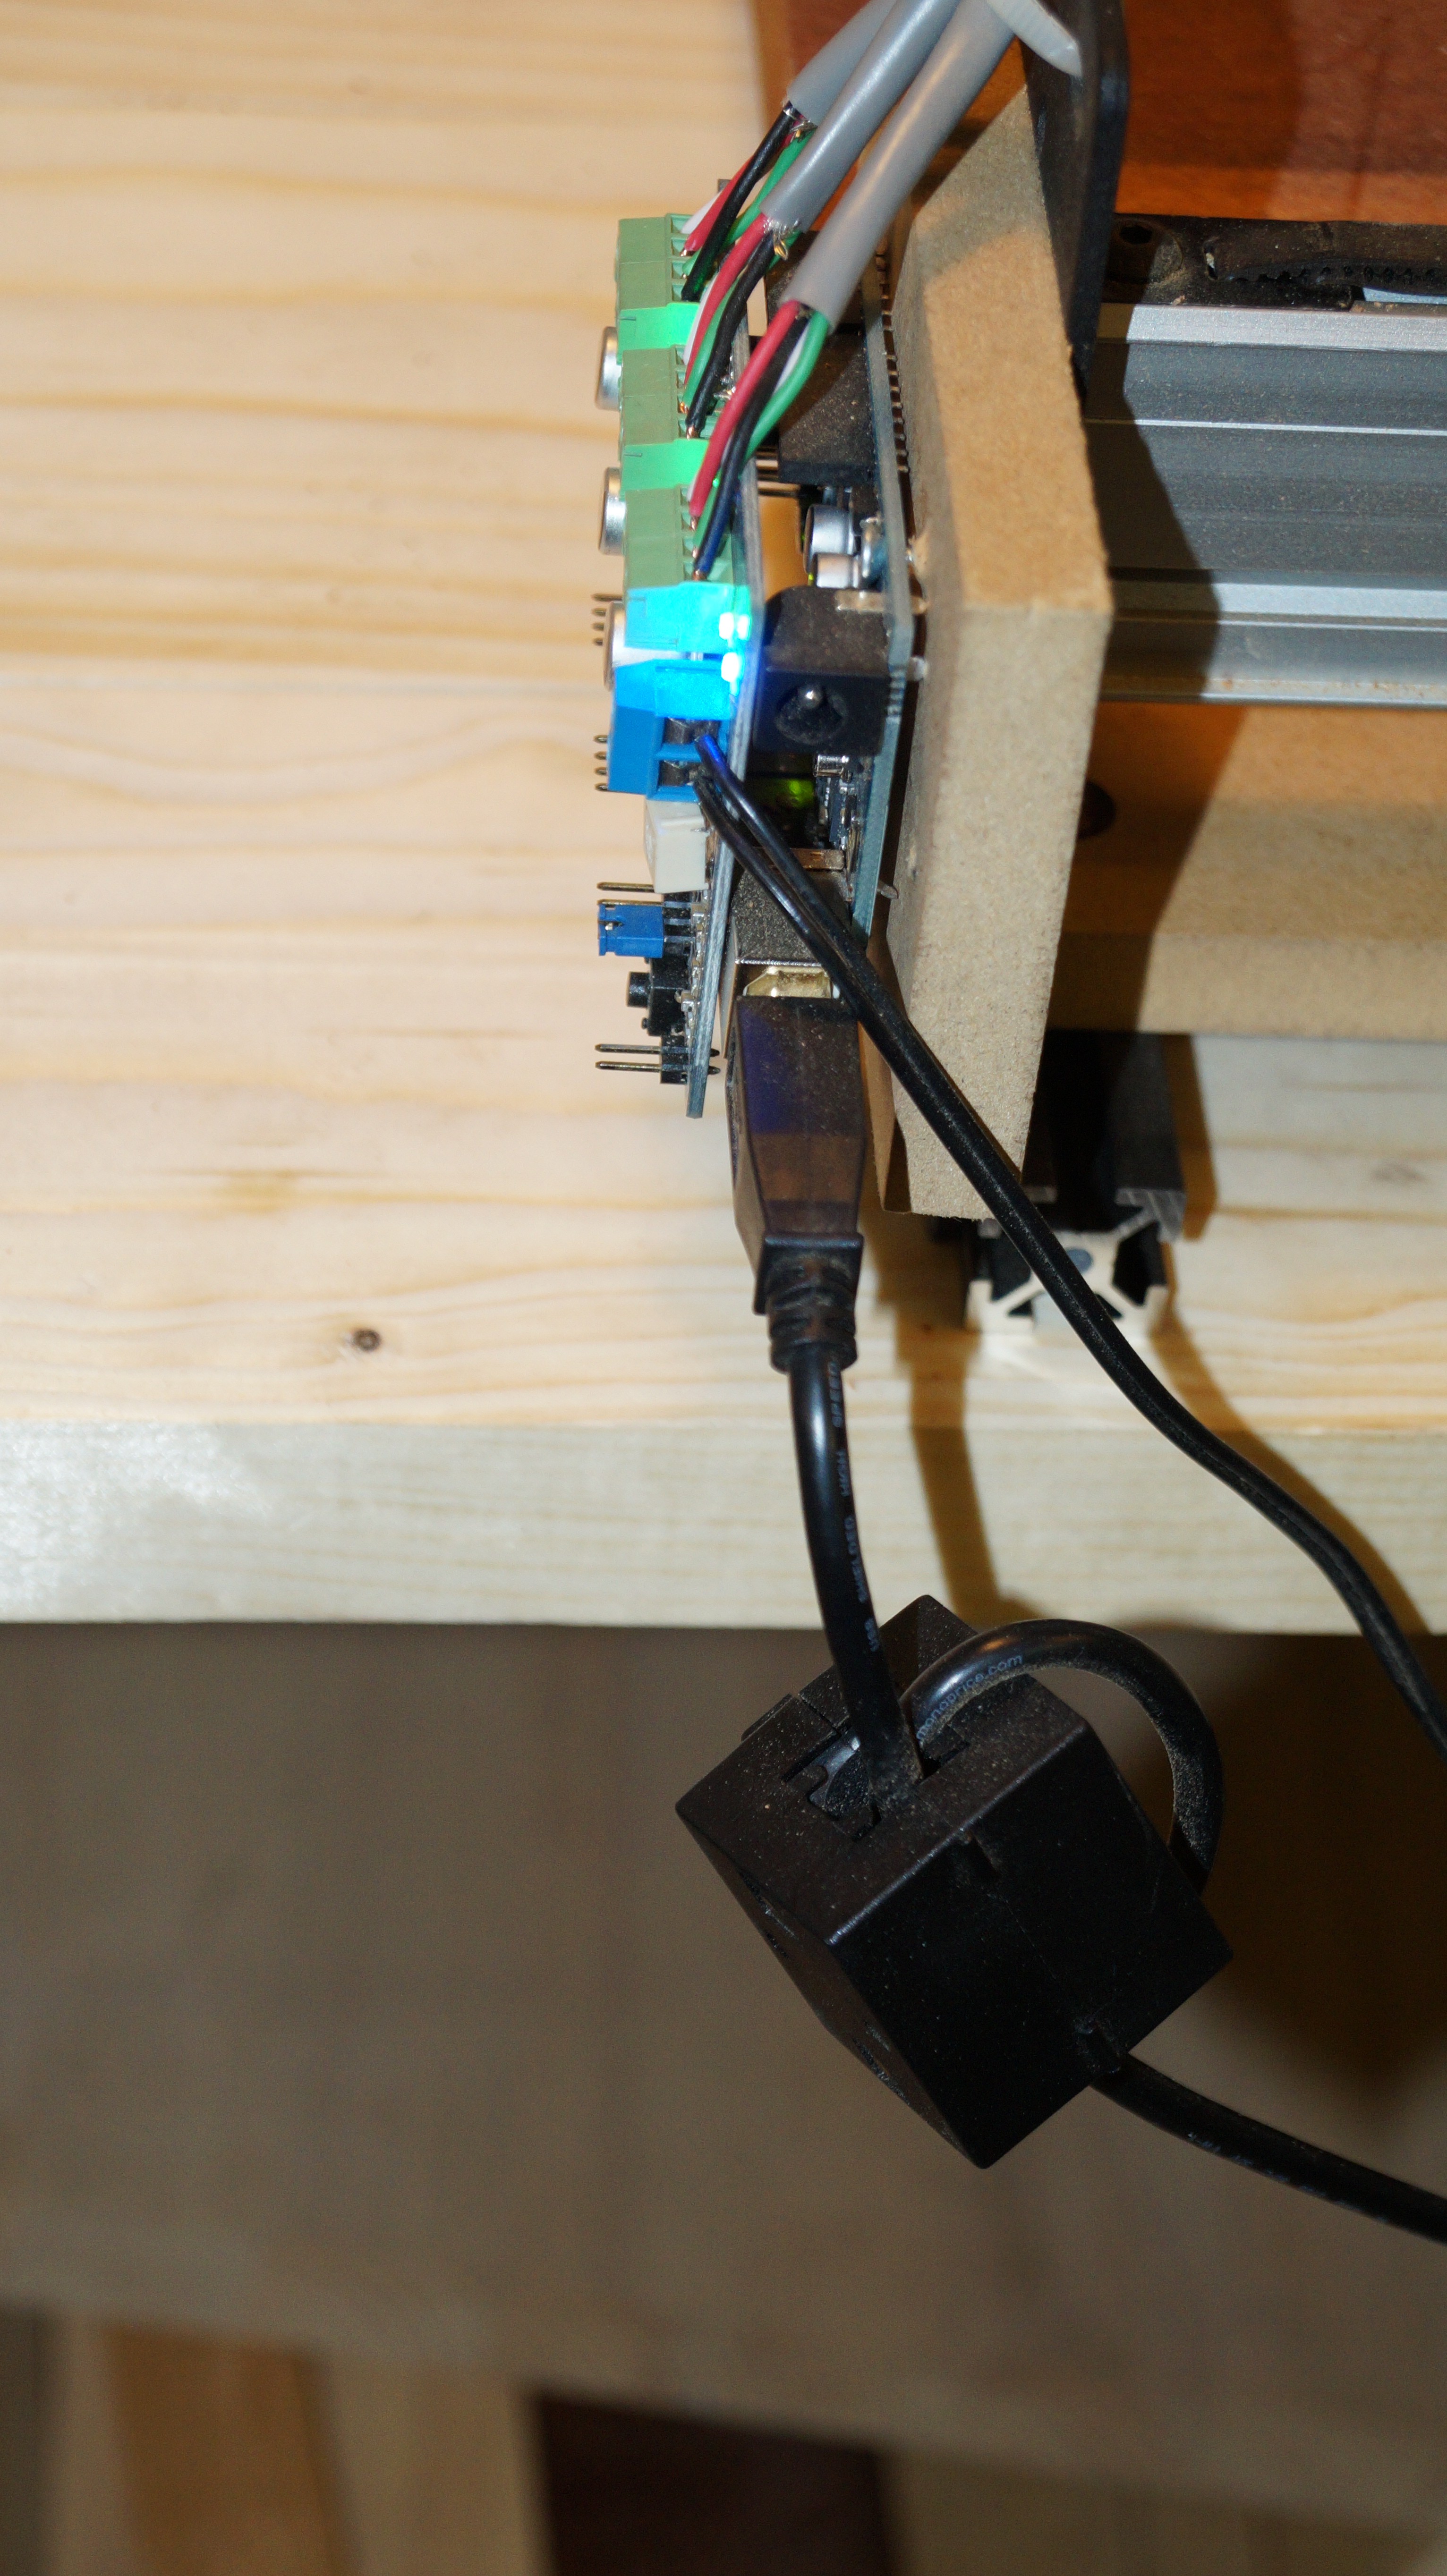
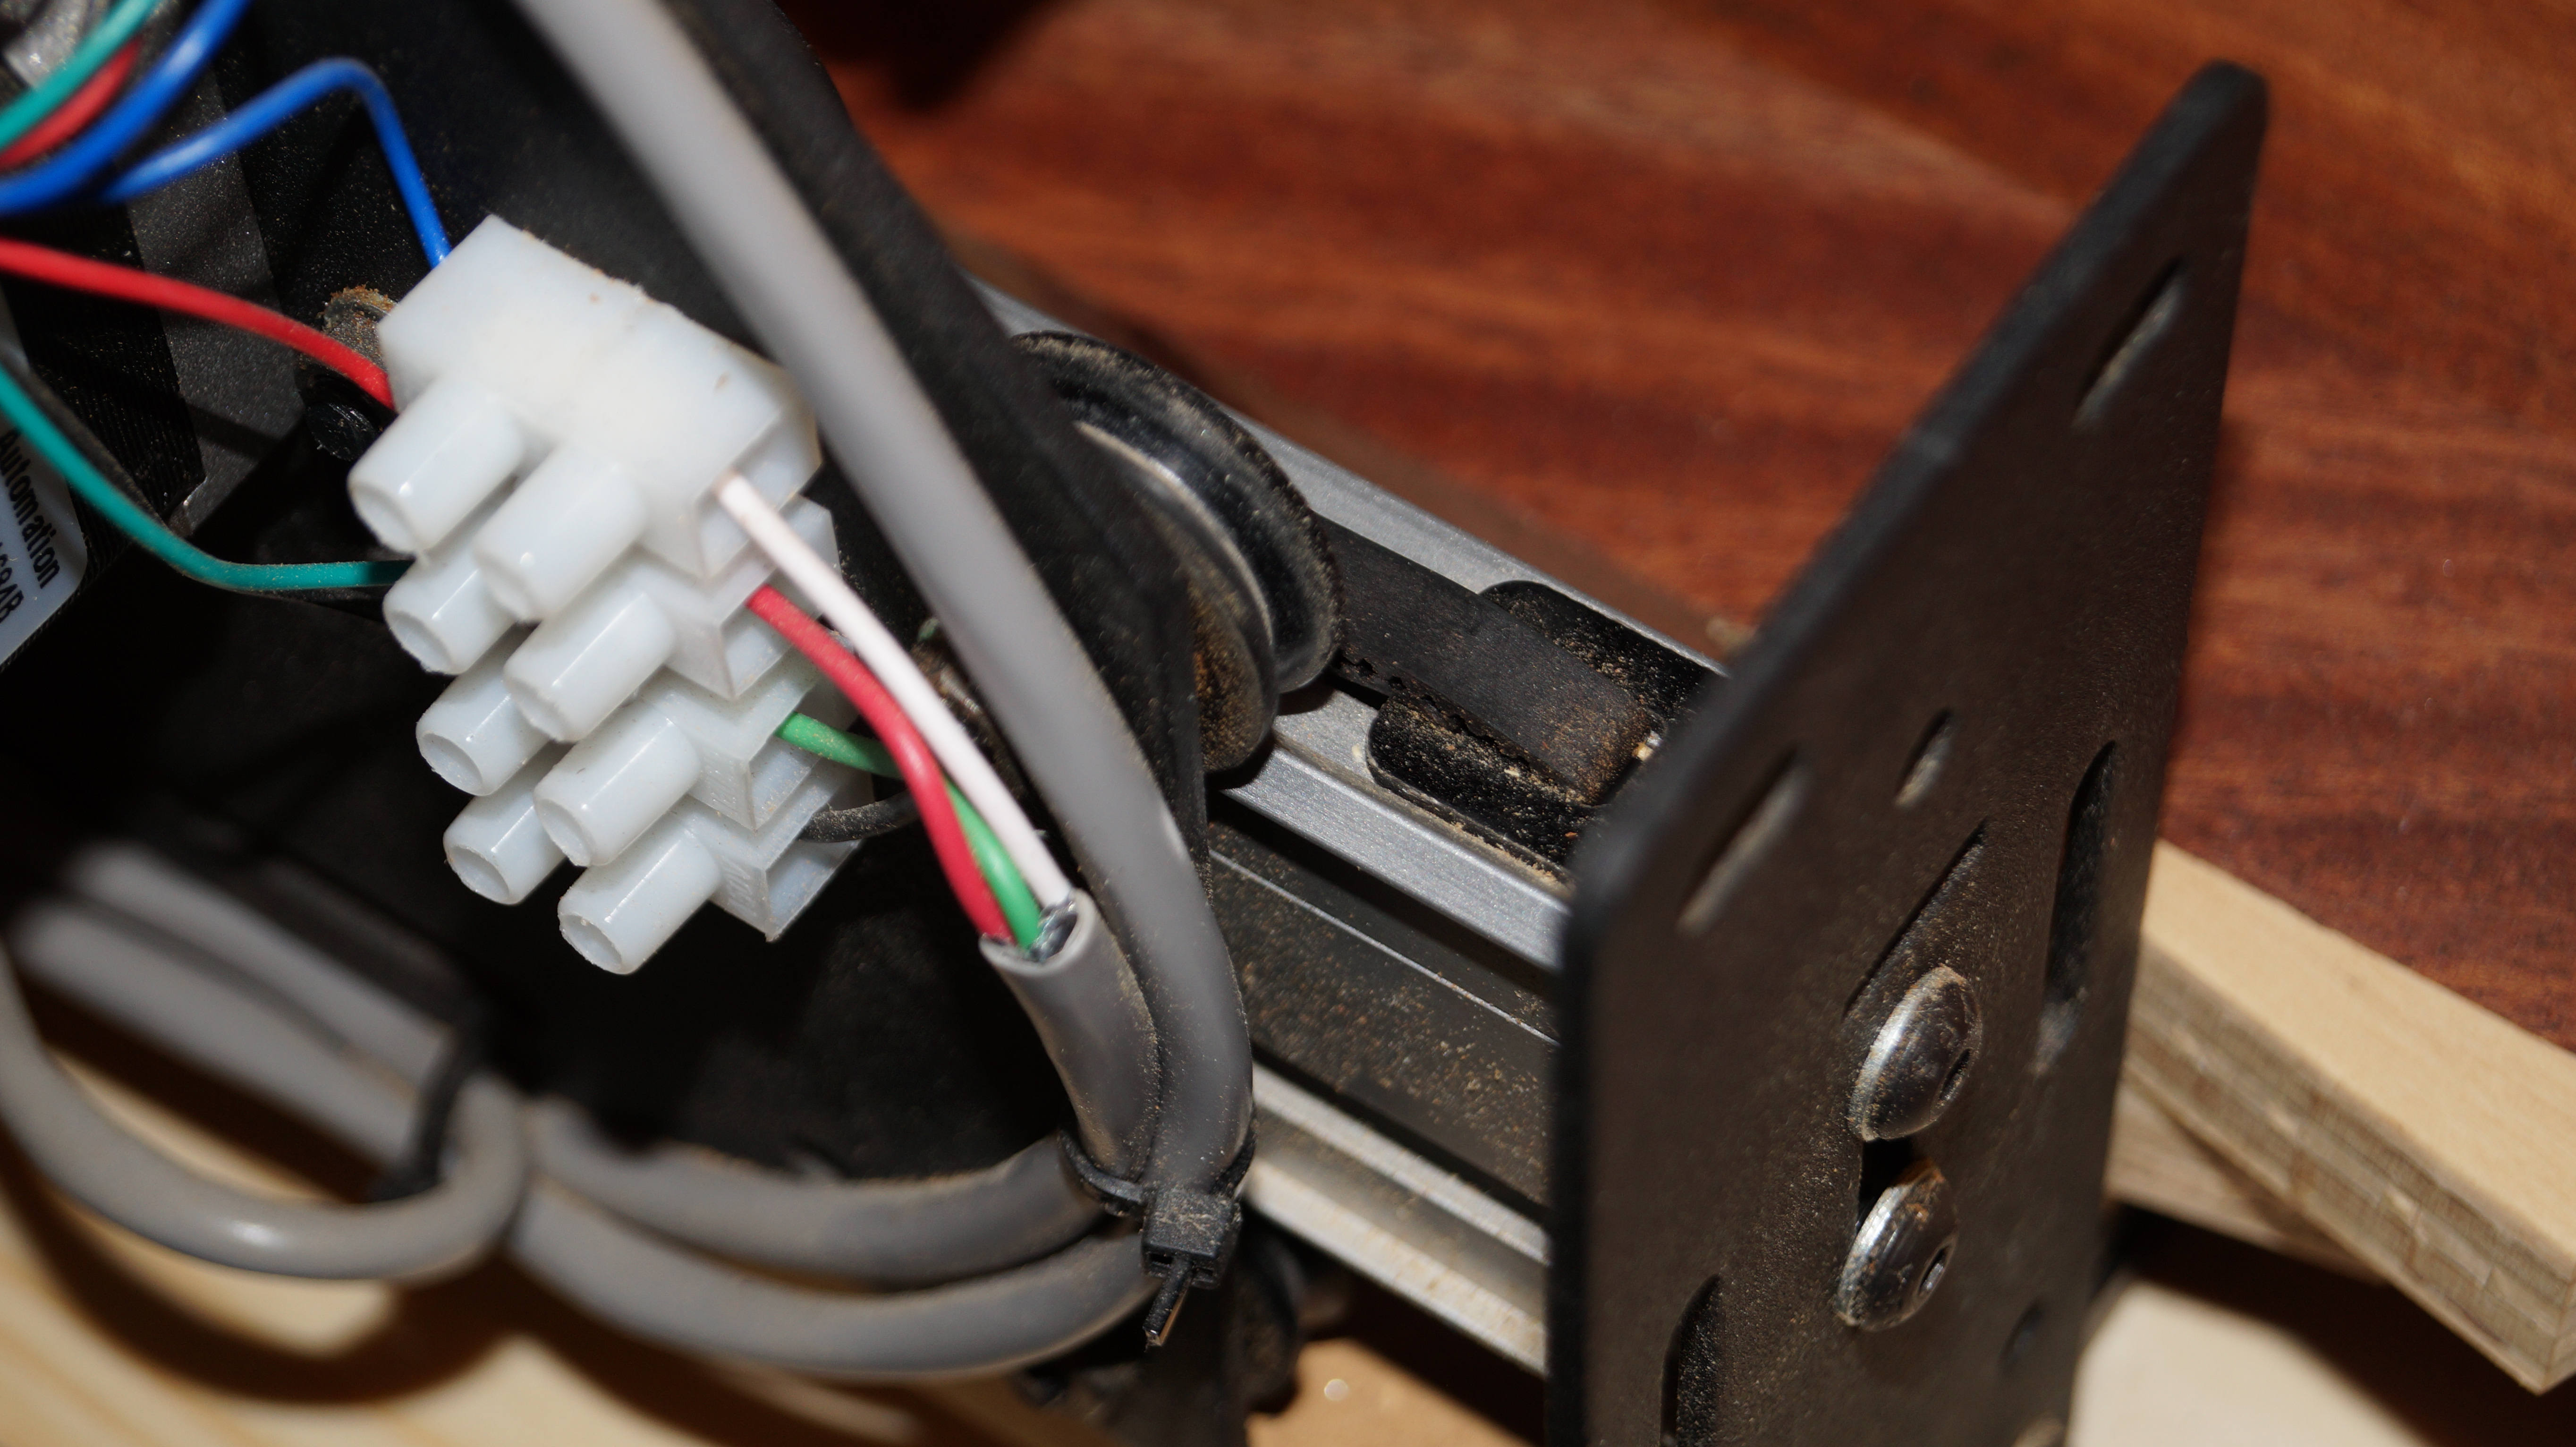
I’m using an old computer running Windows XP and Grbl Controller to control the machine and to send the g-code to the Arduino and the g-shield. Here are some advise I learned the hard way:
1) It’s important that the power management for the USB ports is turned of in Windows. Otherwise, the operating system might loose communication with the Arduino.
2) Run the spindle and the vacuum cleaner from one power outlet and the computer and the stepper motors from another outlet. Having everything running from the same power outlet seems to disturb the Arduino and/or the g-shield.
3) Put a ferrite ring on the USB cable to stabilize the signal between the computer and the Arduino. This seems to help preventing the stepper motors from skipping steps when milling.
Starting position
In this case we’re going to use almost the full movement of the ShapeOko 2, so it’s important that we find the right starting position that allows us to mill the Dominion turntable without hitting the out most positions of the ShapeOko 2.
Here we need 274×274 mm plus 10 mm in each direction for the final cutout, so all together we need about 284×284 mm of workspace. The ShapeOko 2 has just short of 300×300 mm of usable workspace so we need to set the starting position very close to the out most positions.
Without power on the Arduino and the g-shield I move the spindle to about 10 mm from the out most positions in both the x- and the y-direction (I don’t care about the z-position just yet). Then power up everything so the stepper motors will hold that position.

Sanity check
With the starting point set I do a sanity check with some g-code that defines the maximum movement that the CNC machine is going to do in order to get the job done. In this case I use the following g-code:
(Generated by PartKam Version 0.05)

G21 G90 G40

(profile 1)
G0 Z15
T0 M6
G17
M3
G0 X-277.4 Y-277.4
G1 Z15 F1000
G1 X3.401015228426396 Y-277.4010152284264 F1000
G1 X3.401015228426396 Y3.401015228426396
G1 X-277.4010152284264 Y3.401015228426396
G1 X-277.4010152284264 Y-277.4010152284264
G0 Z15
M5
M30
This g-code will move the spindle to the corner furthest away from the starting point and then do a full square of the working area we’re going to use. It looks like this:
With the sanity check done I move the spindle back to the starting point by pressing the “Go home” button i Grbl Controller.
Test run
With the sanity check done I usually do a test run with one of the files that we are going to use when milling the Dominion turntable for real. I the case below I used the Limit=-17.00 file in the x-direction. If I made a mistake when generating the g-code it will reveal itself here by trying to move the spindle out of bounds (or do something weird). Be sure to have enough free space beneath the cutter to make the test run without actually ever touching the surface. Here is my test run:
With the test run done I again move the spindle back to the starting point by pressing the “Go home” button i Grbl Controller.
Setting zero on the z-axis
With the sanity check and the test run done we’re ready to set the zero on the z-axis. I use a piece of paper to do this. I put it underneath the cutter and then move the spindle down one millimeter at the time until I get close to the surface – then move on downwards 0,1 mm at the time until I can no longer move the paper. I then move the spindle upwards 0,1 mm and press the “Zero position” button in Grbl Controller. The process looks like this:
We’re now ready to start making some noise… 🙂