If you missed part 6, please find it here.
The final cut
After working our way down into the material it’s time to do the two final runs: one in the x-direction and one in the y-direction. Running one file takes well over three hours! I made a small video of the process:
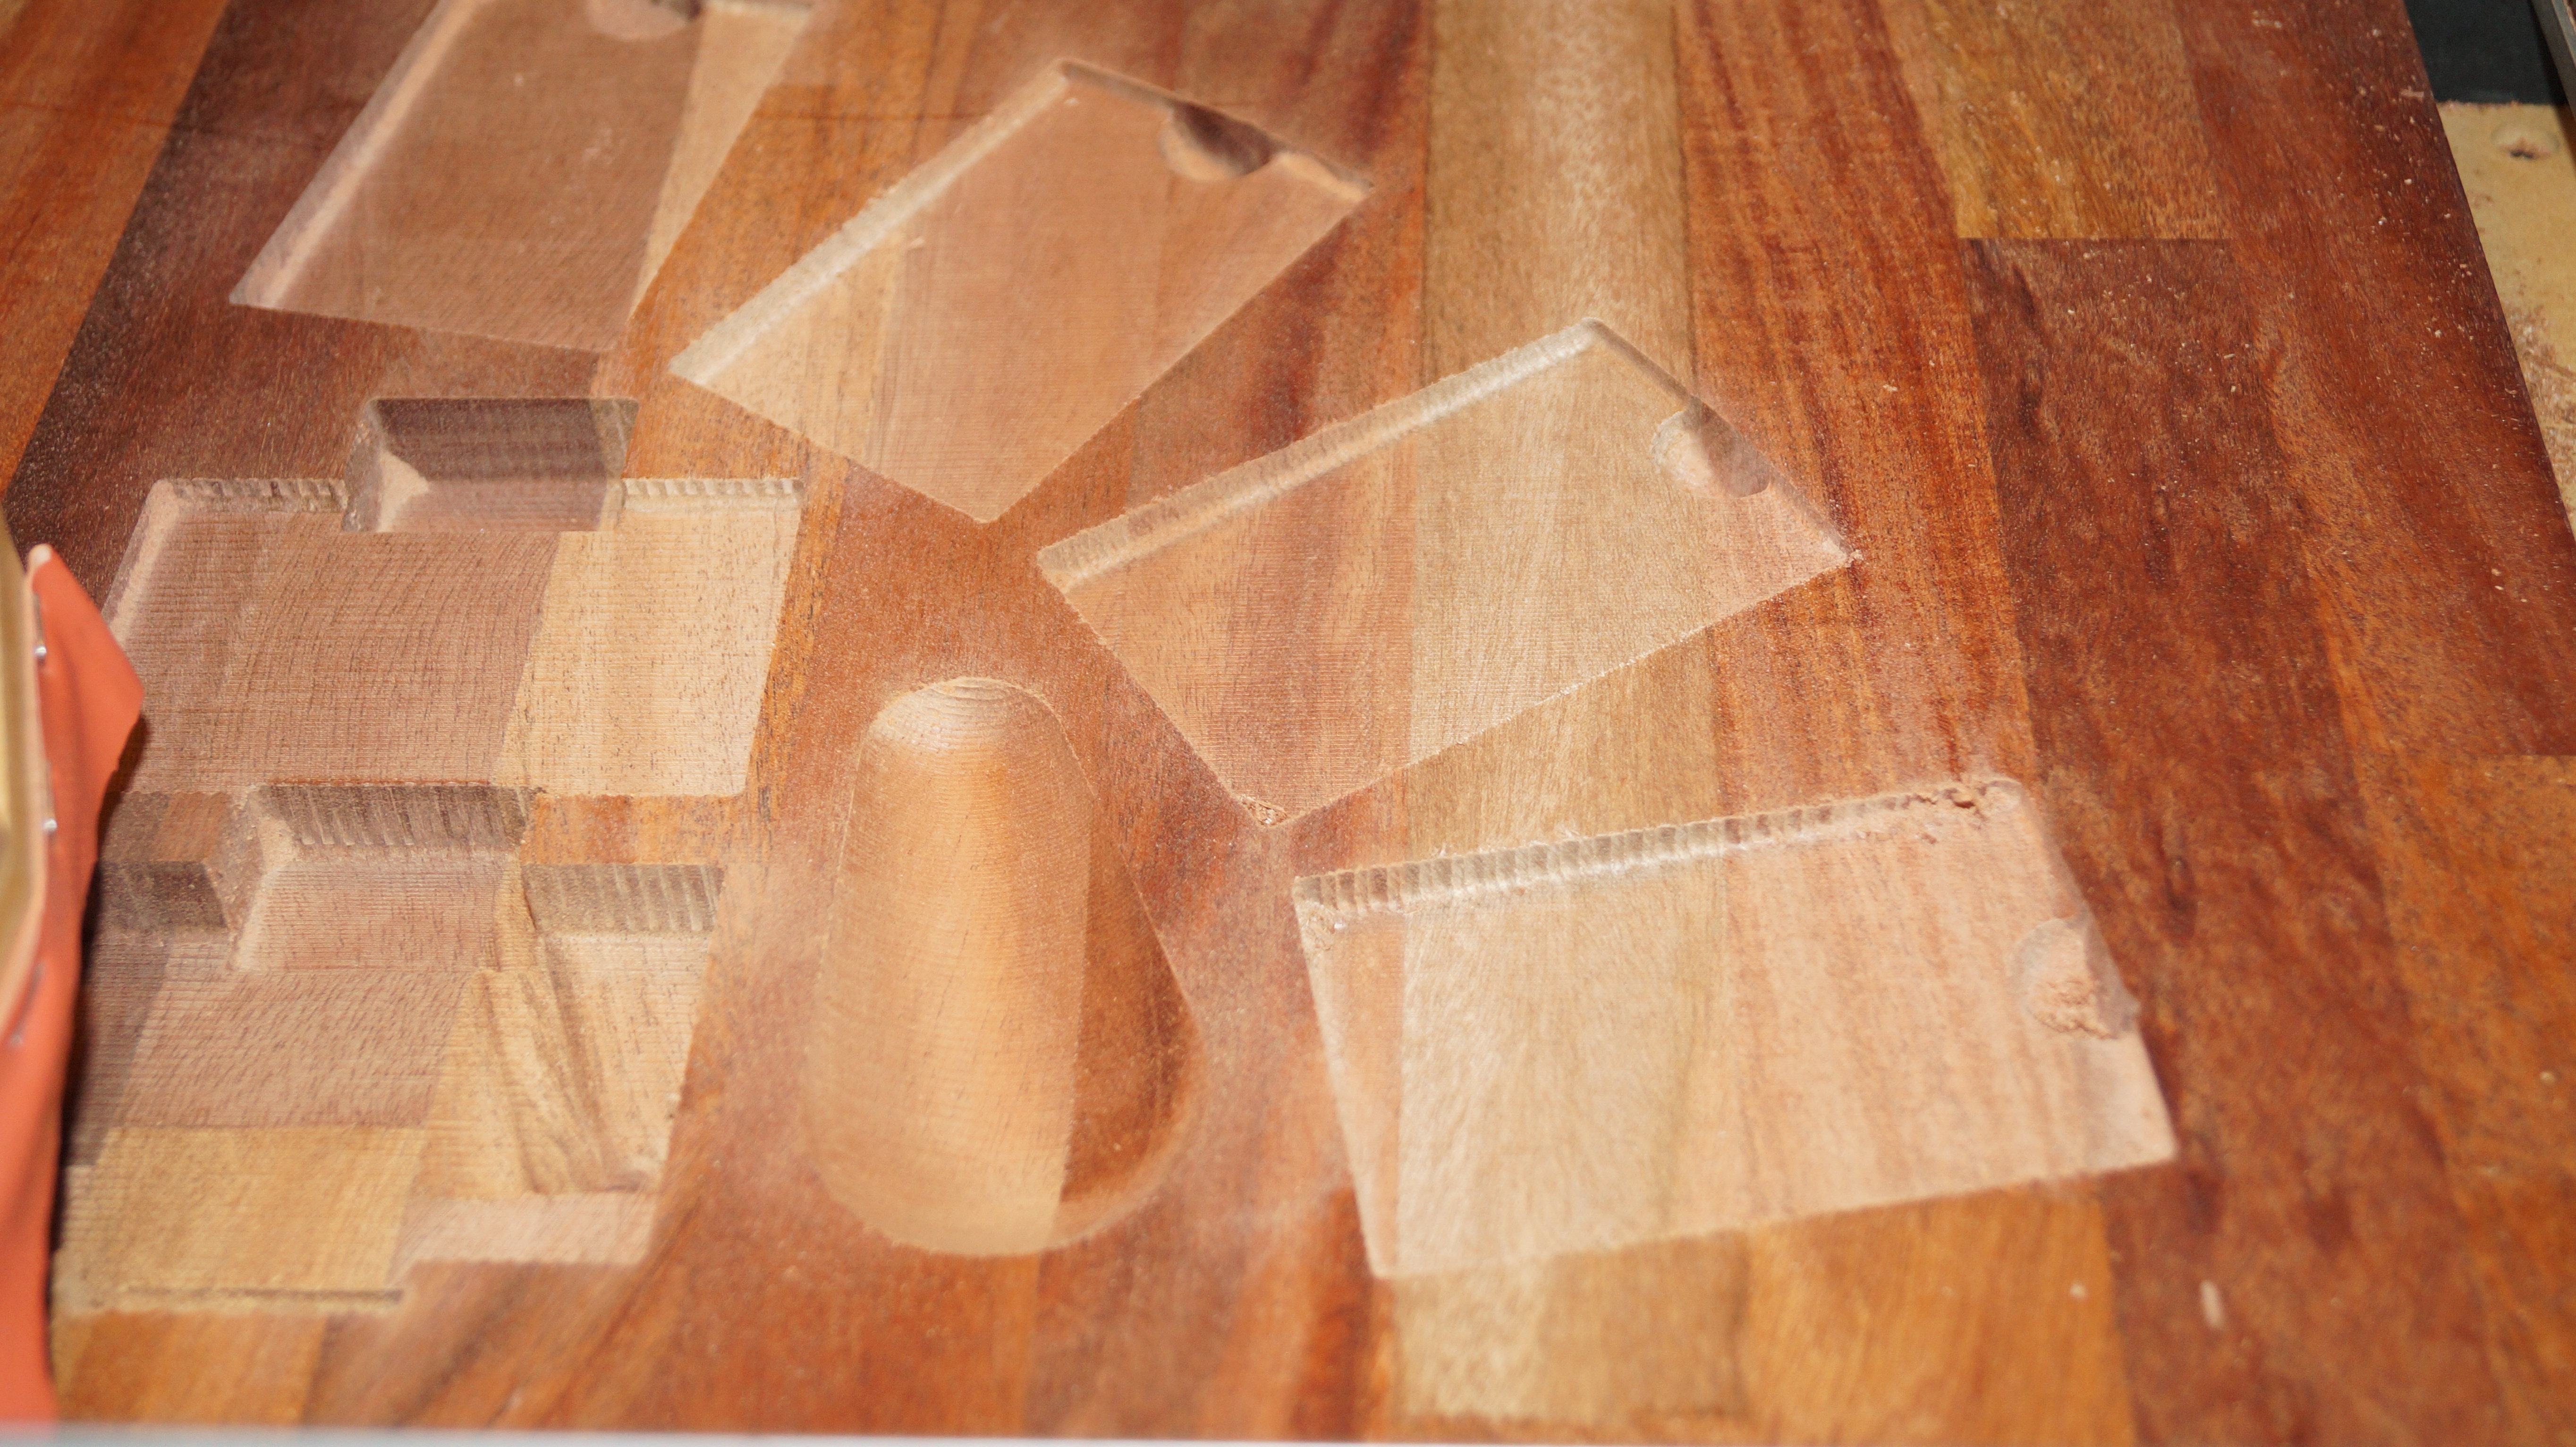
After the final cut in the x-direction there are still some jagged edges as seen in the photo below.
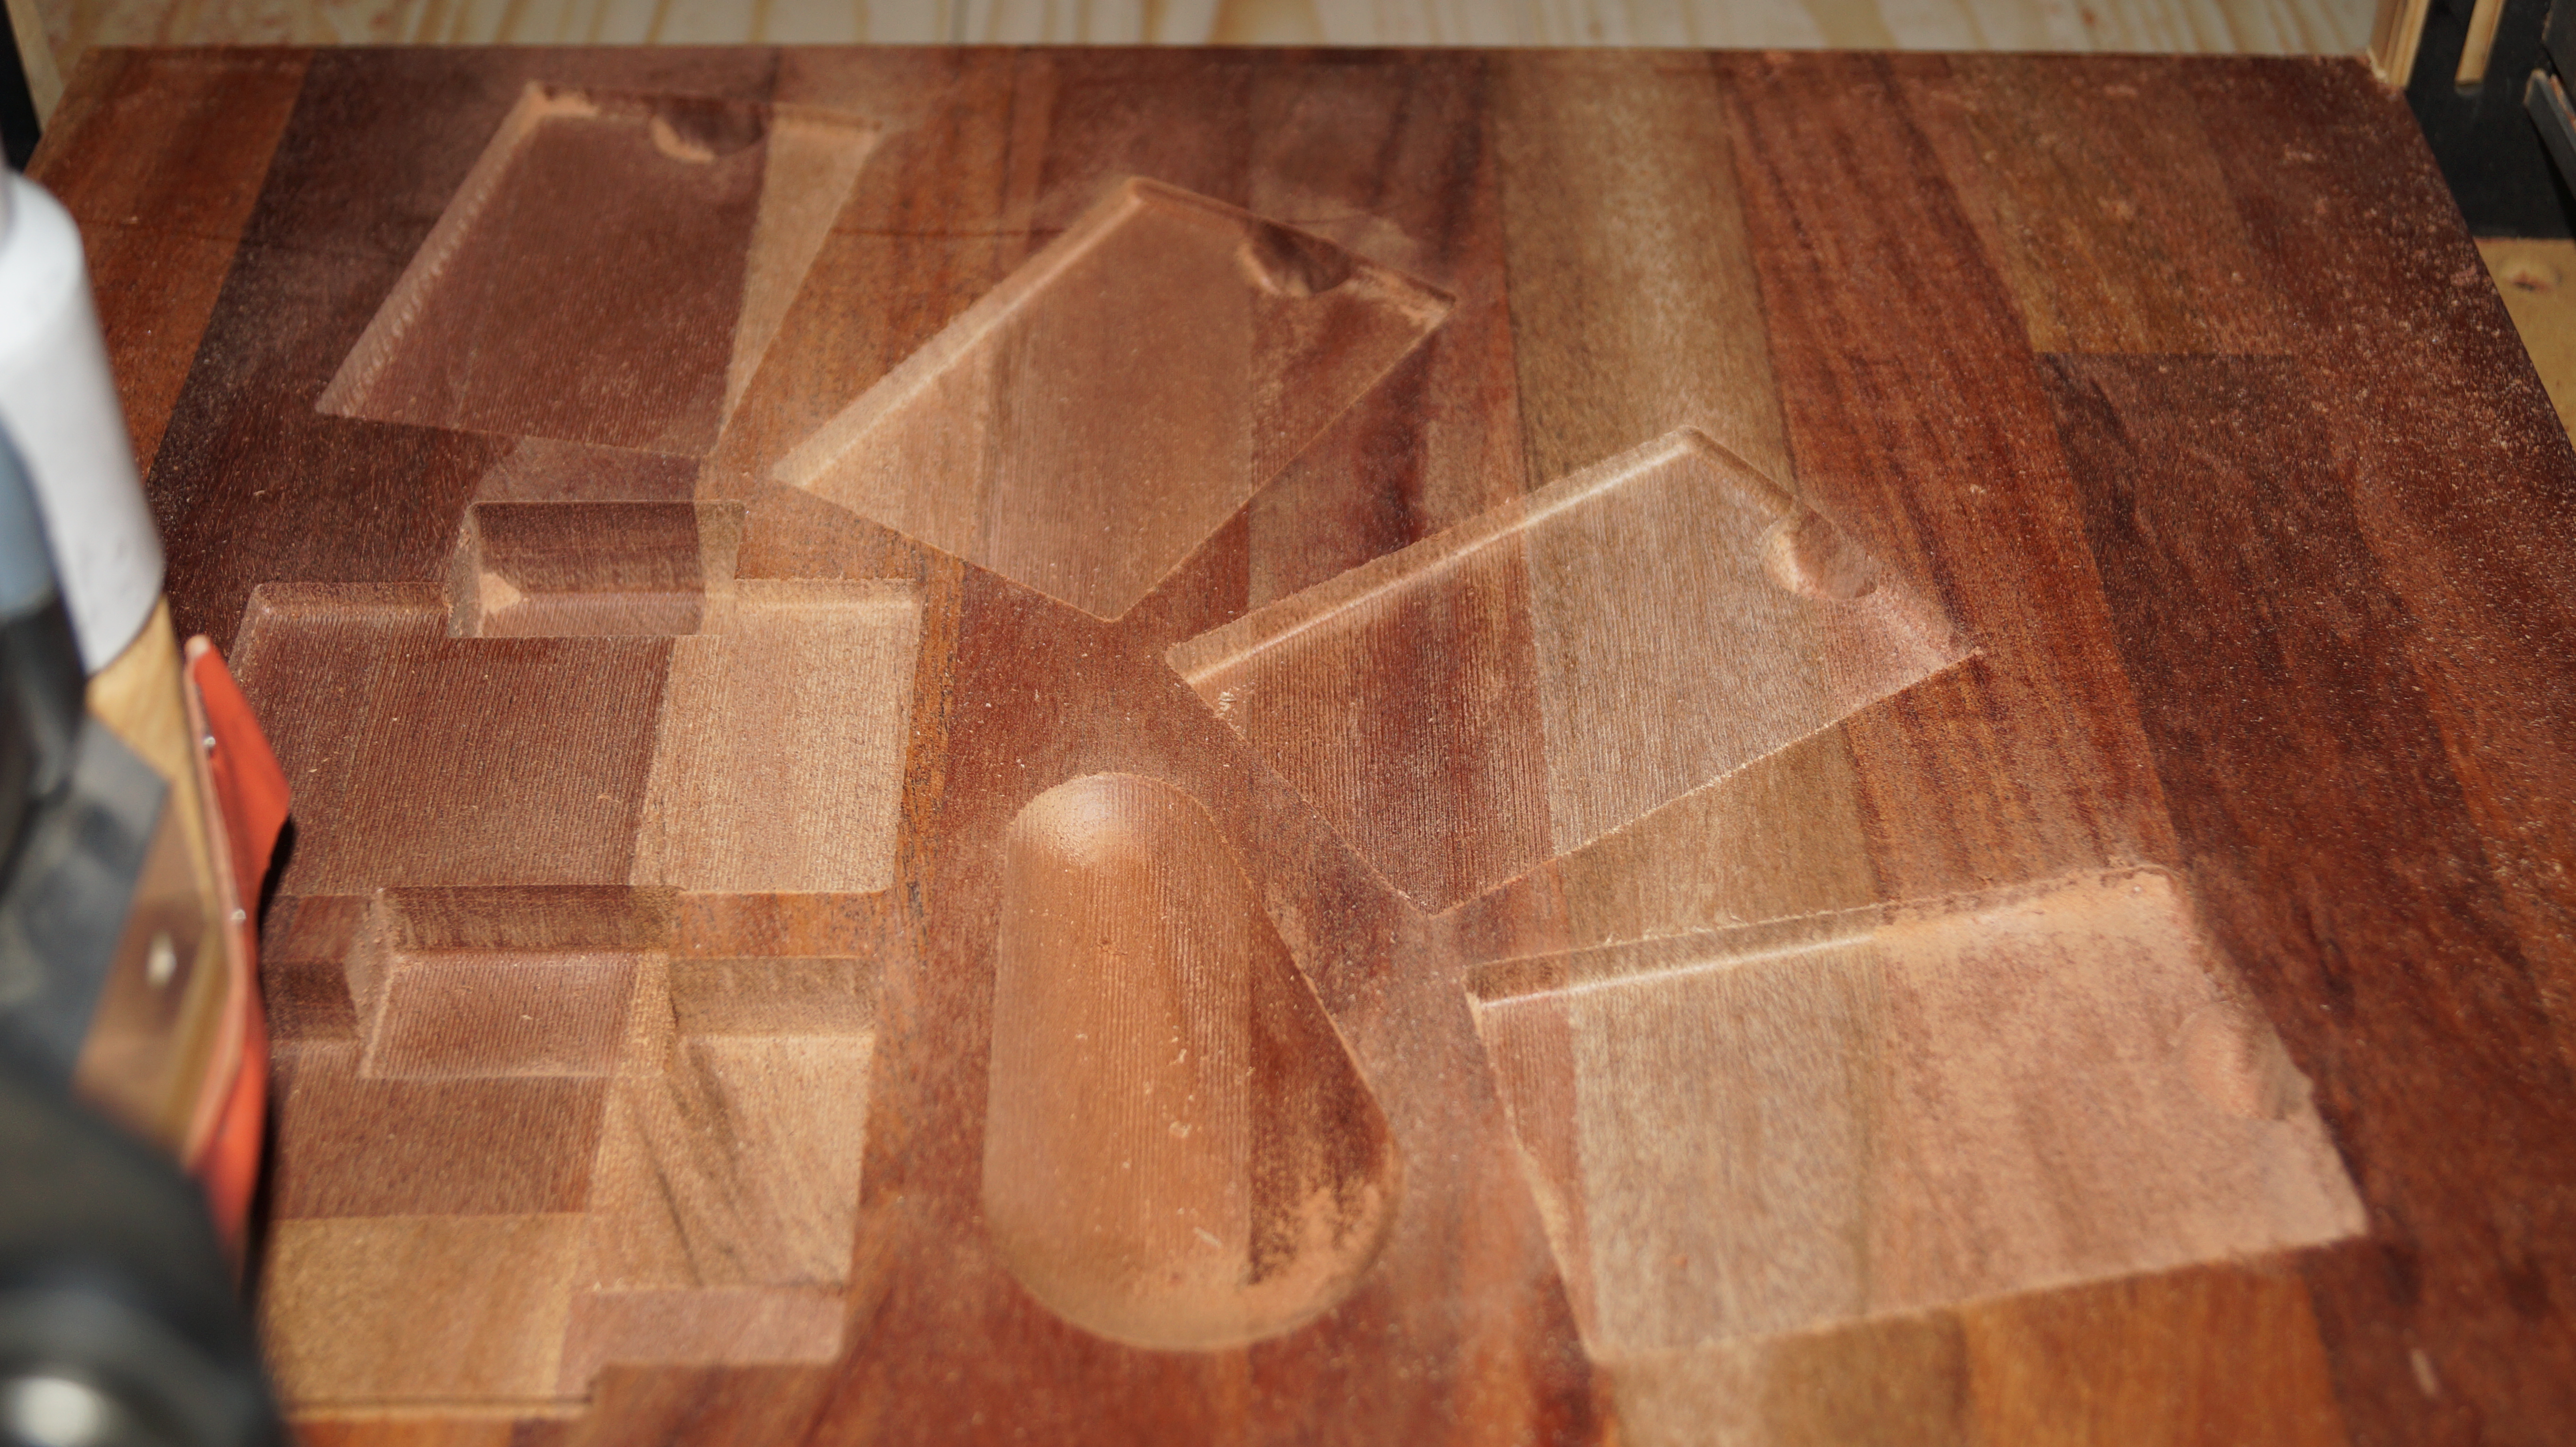
To get rid of these rough edges I finally run the original file in the y-direction to get the surface as smooth as possible (I hope you can see the difference in the photos).
Of course I can’t make all these cuts in one day so I have do it over several days. The trick is to avoid changing the zero position so you can continue the next day without resetting the zero. When I decide to stop working, I do the following:
- Stop the spindle and the vacuum cleaner
- Shut down Grbl Controller
- Shut down the computer
- Finally, cut the power to the g-shield and the stepper motors
This way the stepper motors will hold the position until the last minute. Then the only problem is to avoid touching the machine until the next time. When I want to continue it’s only a matter of the reverse procedure:
- Power up the g-shield and the stepper motors
- Turn on the computer
- Start Grbl Controller
- Connect to the g-shield in Grbl Controller
When power is turned on and everything is running, the Grbl Controller will set the current position as the zero position and all I have to do is to adjust the z-axis and continue. 🙂