If you missed part 1, please find it here.
Rebuilding the frame
I ordered 2 MakerSlide rails of length 100 cm, 2 aluminum extrusions 20x20x100 mm and 2 aluminum extrusions 20x20x50 mm as well as screws, belt and other parts.
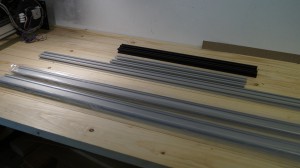
I’ve decided not to shorten any of the aluminum extrusion so my new frame will be 50×104 cm because of the way the corner is assembled. The shorter extrusions are exactly the same length as my y-axis rails so the assembly needs to be as seen in the photo below.
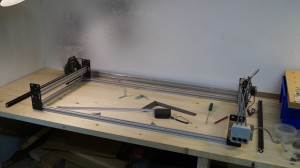
I used extrusion brackets to assemble the corners (they are great) but for some reason I just ordered 6 which isn’t enough: I should have ordered 8 because I need 4 for the corners and 4 for mounting the old extrusions as support for the waste board but I found another solution as you can see later on.
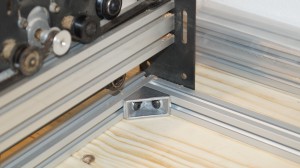
To further strengthen the corner of the frame I decided to mount one of the end plate screws in the end of the shorter extrusion (yes, I cut a thread in the end of the extrusions) and the other one in the longer extrusion using a t-slot nut.
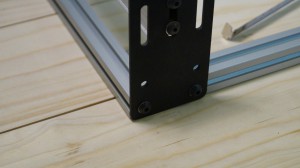
I then shortened the original aluminum extrusion to fit inside the frame and mounted them as support for a new waste board.
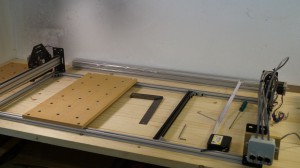
After threading the new MakerSlide rails I mounted them on the x-axis.
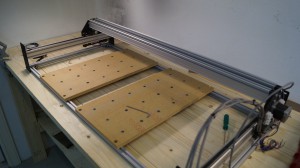
Because of my decision regarding the corner assembly, the MakerSlide rails for the x-axis were not long enough (14 mm to short) and I had to make spacers from the leftovers from my old aluminum extrusions. It seems to work fine. 🙂
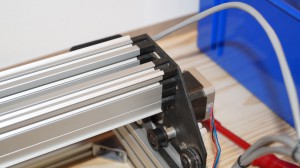
Now I need to put the z-axis gantry back on and rewire the stepper motors …
Rebuilding my ShapeOko 2 – part 3
Thank you for this useful blow-by-blow account which helps in planning my construction.
Your flexible support for the control wires would solve my problem. I am attempting to use glass fibre draw rods (for house wiring) as supports, but they are a bit stiff.
What did you use? They seem more adaptable than my idea.
Hi
Thank you for your comment.
I used what I had available: Twisted pair network cable! I needed 4 wires for each stepper motor so I used a twisted pair instead of each wire since the cable contains four twisted pairs. The cable is holding itself because the network cable was stiff enough to hold itself and yet flexible enough for the purpose. 🙂